Earn money from content locker | Complete Guide | Propush
1. Create Account And Add Website
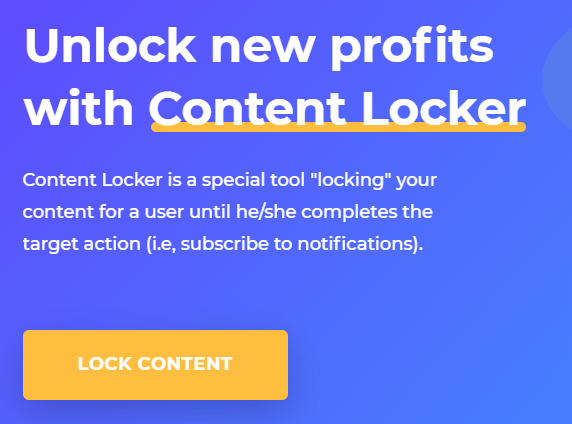
Create Propush.me Account
Given screen shots can help you to work easy. The first picture from propush.me homepage.

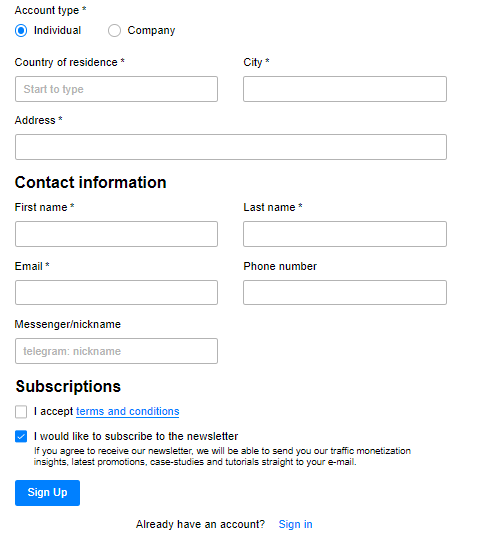
Fill up blank fields using all valid information.
Check your email and get verify link to approve your account.
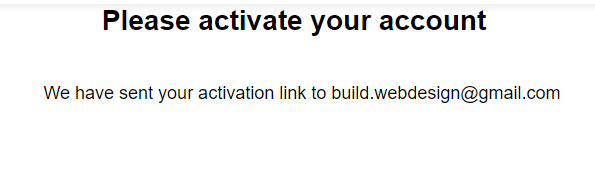
Create a strong password and continue.

Click on “Sites“
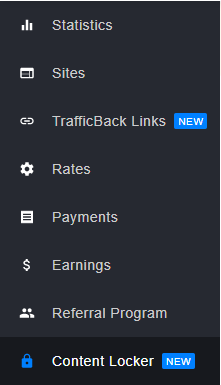
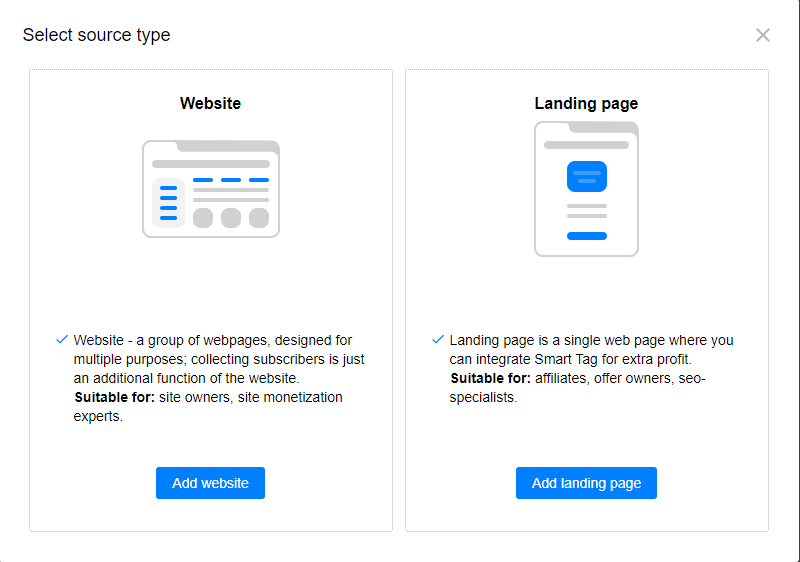
Click to “Add Source” >> “Add Website“

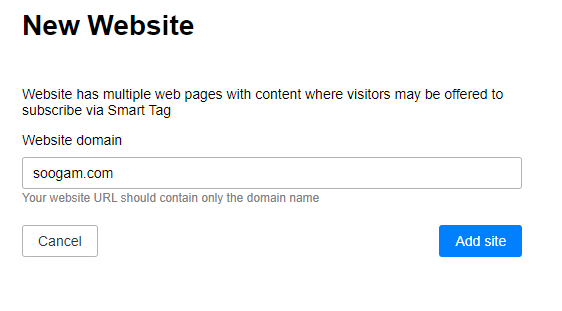
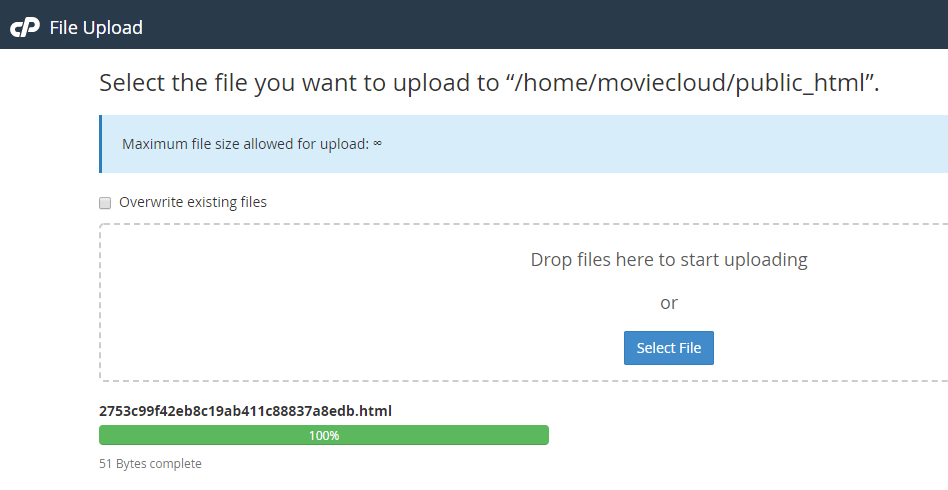
Download .html file and upload to “public html” via cPanel.
Or
Login to your website and paste into the front page of your site.
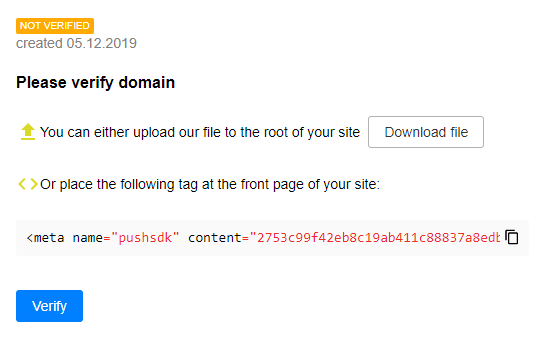
Login to your cPanel >> File Manager >> Public Html >> Upload
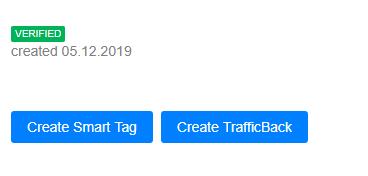
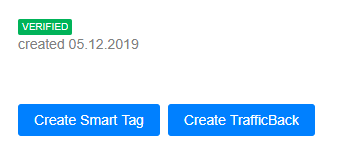
2. Create Zone And Verify
“Create Smart Tag” >> Give a name and “Create“
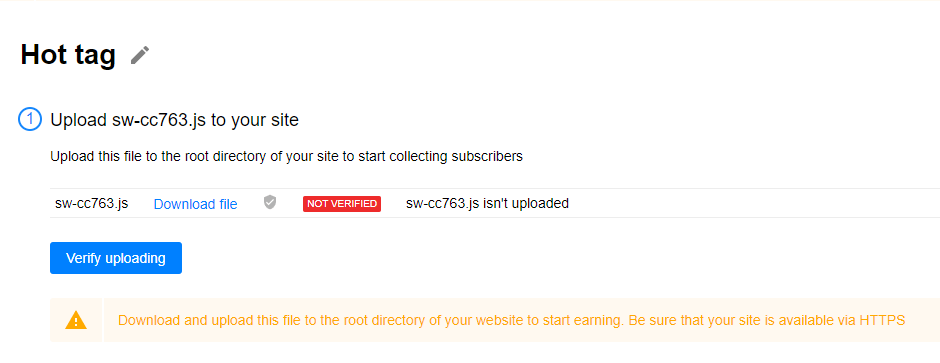
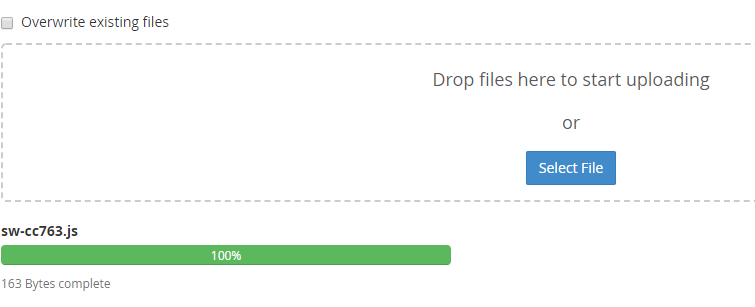
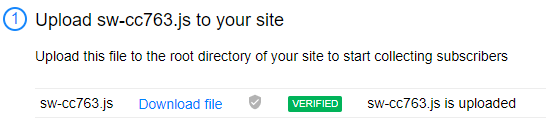
Again >> Download .js file and upload using cpanel.
Login to your cPanel >> File Manager >> Public Html >> Upload
3. Now everything done | More Help
Here are the examples, that will help you to design your own custom elements:

How to implement trafficback link in Propush.me code


Manual integration
This is how you can implement the trafficback URL in Propush.me code manually. For example, if you want to redirect users after they click “Allow” on push notifications subscription window, please put the URL in the code the following way:
1
…sdk.onPermissionAllowed(function() { /* this code will be executed if user clicks on Allow button */ window.location.replace('https://google.com/search?q=Allow');});…
You can use the same method to install trafficback for another events – just put the link into the corresponding section of the code.

Leave a Comment